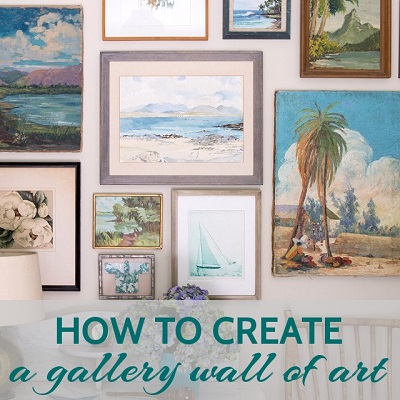
How to Create a Gallery Wall of Art
by
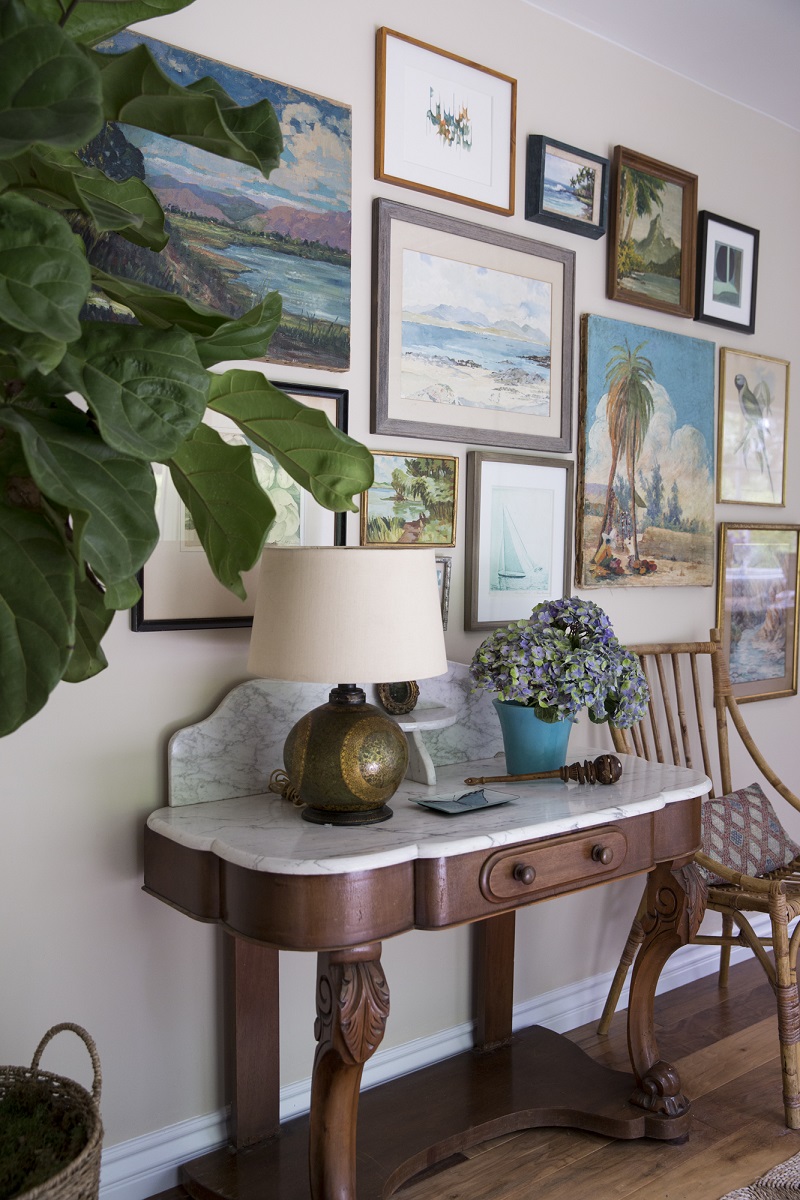
Hello, and thanks for visiting. This is my favorite gallery wall that I’ve ever personally assembled…….
I spent a lot of time on it because it’s in my front entry hall, and it’s the first thing I see when I walk into my house. I love that it has a beachy vibe and even though it has a fairly casual look, all of the pieces of vintage art that I’ve collected here are very finely painted. I think that a lot of people are interested in “how to hang a gallery wall” but assume it’s so much easier for designers to achieve this look, and they are paralyzed about how to start on their own because they think they don’t know what they’re doing. The truth is that it’s not always an easy project for a seasoned designer either, but since it’s worth doing we spend many, many hours, sometimes spread out over a number of days, fine-tuning the whole art display. I did not just whip out my hammer and nails one day and end up with this in half an hour! If it scares you, just know this: the worst case scenario is that you decide you don’t like it, or need to rearrange some things, and you’ll just need to patch a few holes. That part IS easy. I go into SO MANY houses where people have NOTHING on the walls because they don’t know where to start. I hang and re-hang things all the time in my house because I love to, and because it’s part of my vintage art business. I am careful and I use skinny little nails, because most of the pieces of art I hang are fairly lightweight. But I rarely need to actually “patch” old nail holes. I honestly just dip a q-tip into the paint can and dab a little spot on the hole and it gets filled in and covered up enough. Scroll through for photos of my step-by-step process:
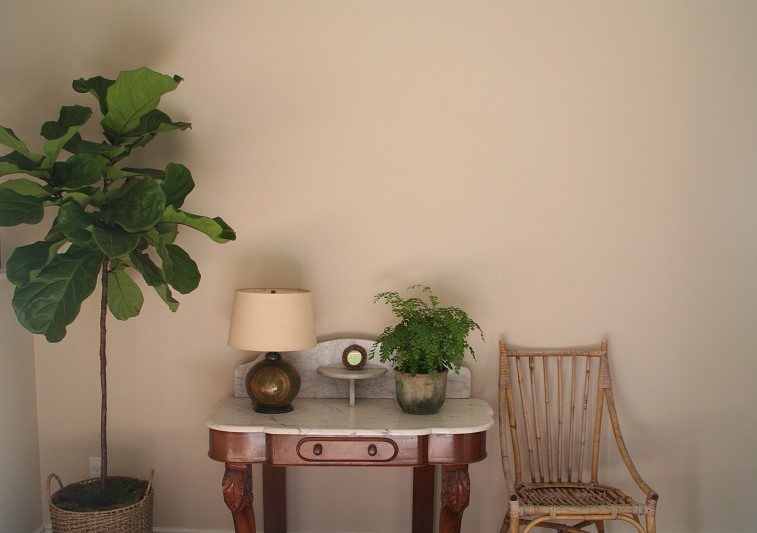
My blank slate.
STEP #1) I measured the height and width of the overall area that I wanted to cover. I decided to leave an 8″ blank space between the ceiling and the top of the highest frame, and 8″ from the edge of the wall and the furthest frame to the right, to give it a bit of breathing room. I only left 2″ between the top of the marble table backsplash and the bottom of the lowest frames. IMPORTANT RULE OF THUMB for most art installations, even if you are hanging just one painting: I think art should be closer to the thing it’s hanging above, such as a sofa, a bed, a table, than to the ceiling. Otherwise it looks like it’s floating too much.
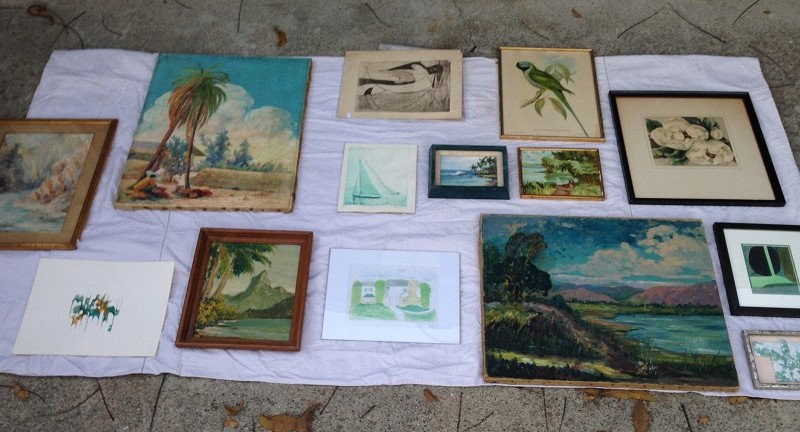
STEP #2) I got out a old sheet and laid it out on my driveway, folding the edges under so that the overall width and height were the same as the wall area I was trying to cover.
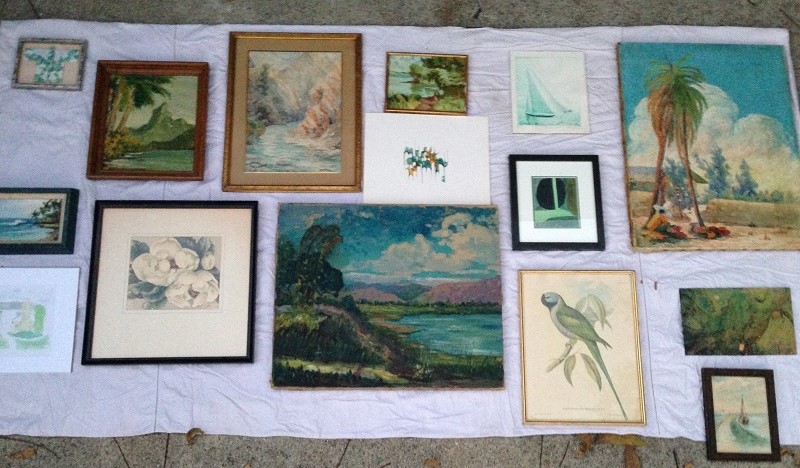
STEP #3) I started to lay out all of the pieces that I’d been collecting in a pile that I thought might work well together. I just kept moving them around and around until I felt like I had the right mix.
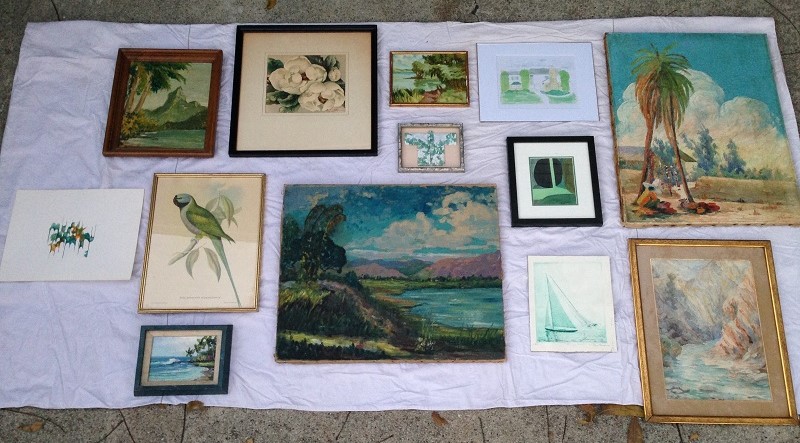
It took quite a few tries, and I ended up taking paintings out that I had planned on using but that just didn’t look good with the rest. And on the flip side, I ended up adding in some paintings that I wasn’t planning on using, but that filled in some holes that I found in the arrangement during this phase. Another IMPORTANT RULE OF THUMB that is also true for many types of interior design installations, bookshelf stylings, tablescape stylings, etc: if you can start with a lot more pieces than you actually need it’s always nice to have options. It might mean that you don’t even use some of the things you have in the interest of achieving the best final result. Hopefully if you plan well you can either return the unused items or hang them elsewhere!
*** I took photos of each layout, in case I needed to remember something that I liked from a previous version.
STEP #4) I knew that I might have to frame a couple of pieces, and I waited to do this until I could see where they would be in the arrangement. Depending on what they were going to be hung next to might determine what color of frame I’d choose. See note about balancing this below. I just stacked all of the paintings in a safe spot until the couple of newly framed paintings were ready.
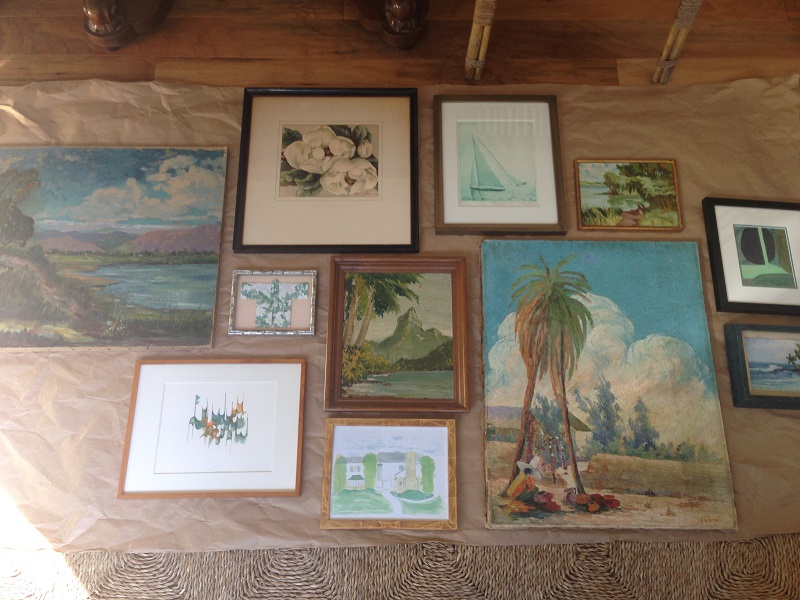
STEP #5) I laid out a large piece of kraft paper on the floor in front of the wall, which I cut to the same size as the wall area I decided to cover.
STEP #6) I laid out the paintings on the kraft paper based on the final photo that I had taken on my driveway.
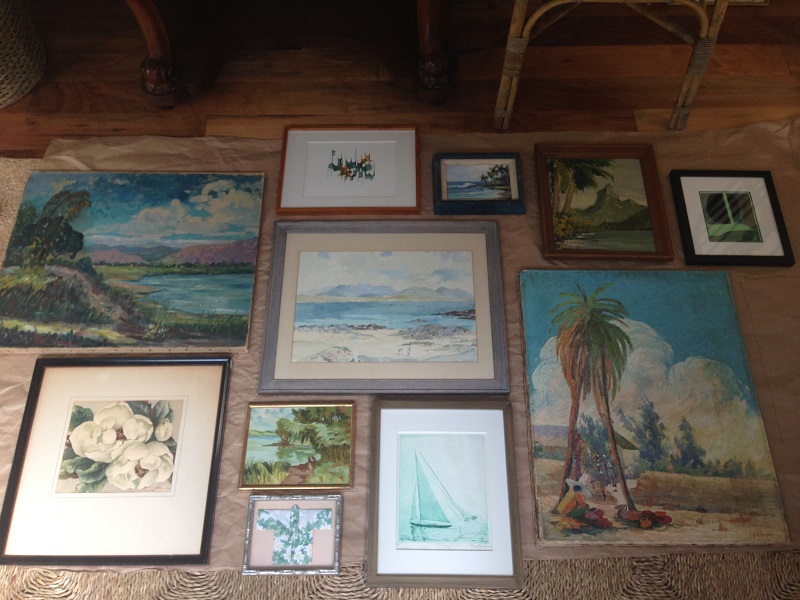
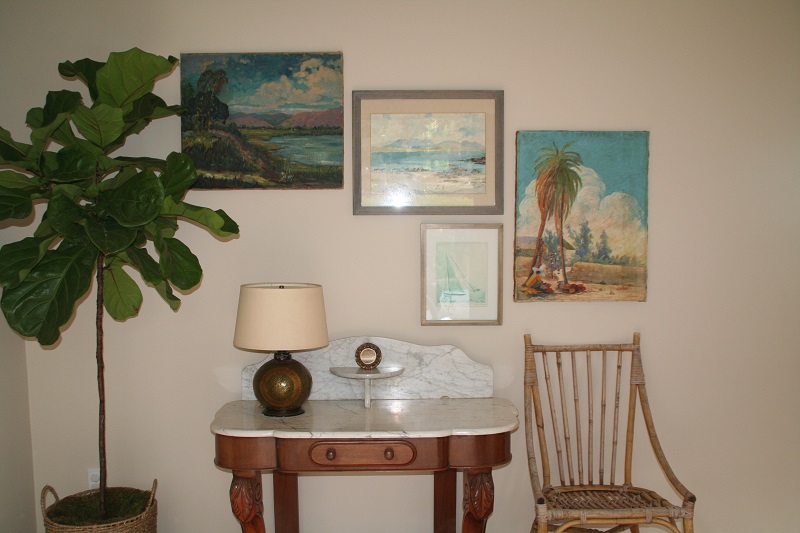
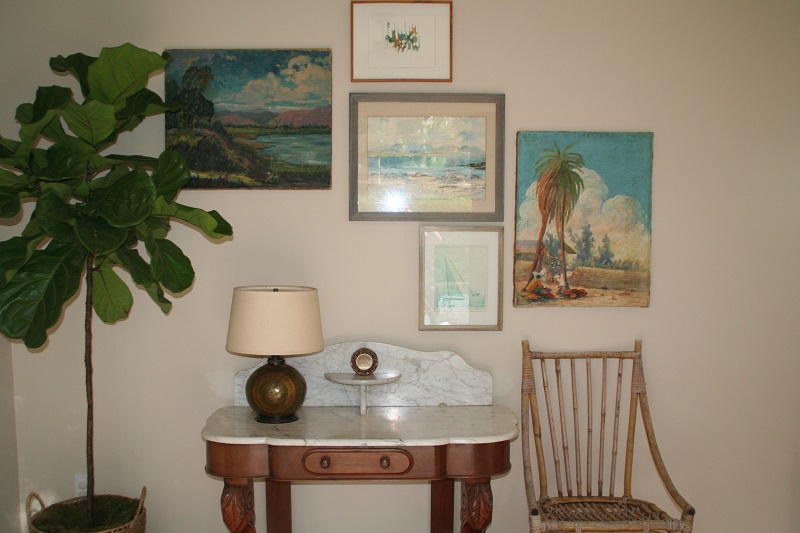
Then I STILL had a last minute change to make! I decided that I needed one more large painting, the one in the center, so I added it in and moved the other pieces around accordingly. I left a couple of inches between each painting, but since this isn’t a precise grid and didn’t need to be perfect in this respect I didn’t use a tape measure.
STEP #7) Using a very THICK black sharpie I outlined each painting, making sure not to draw on the frames.
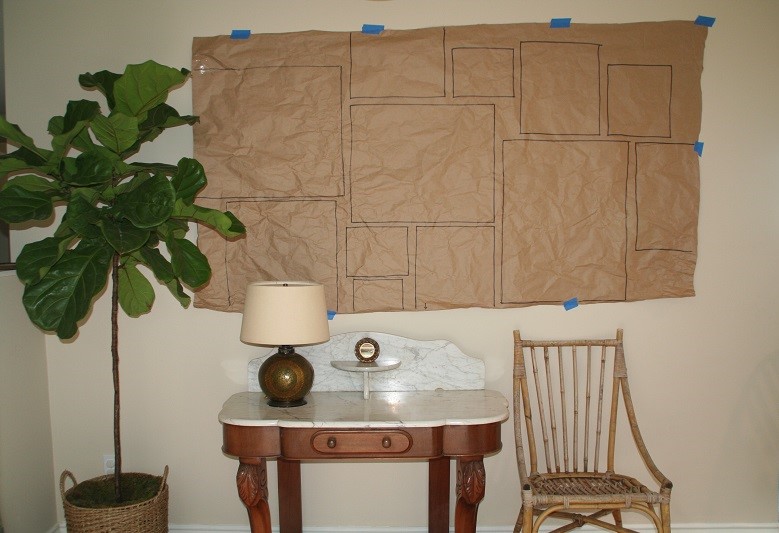
STEP #8) I removed the paintings once again (it’s a tedious process), and attached the kraft paper to the wall using painters tape. I repositioned it a couple of times to get it just where I wanted it, standing back and looking at if from afar and from different angles. I mostly centered the whole grouping on the wall, but since it’s an off-centered furniture arrangement I decided it would be nice to have the tree overlapping the art a bit.
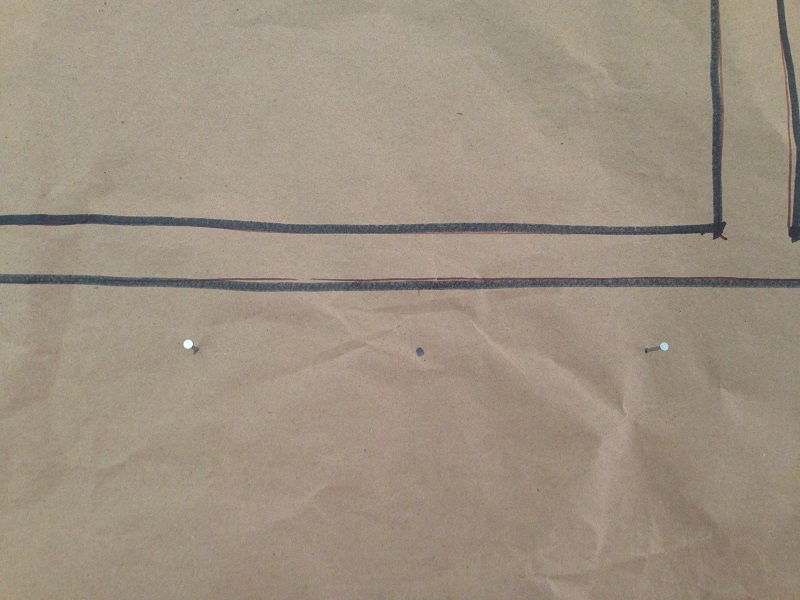
STEP #9) For each painting, I measured how far down the hanging hardware was from the top of the frame. I then measured the same distance (it was different for each frame) from the black sharpie line corresponding to that frame, and made a dot where I needed to hammer each nail. I just put the nails in THROUGH the kraft paper.
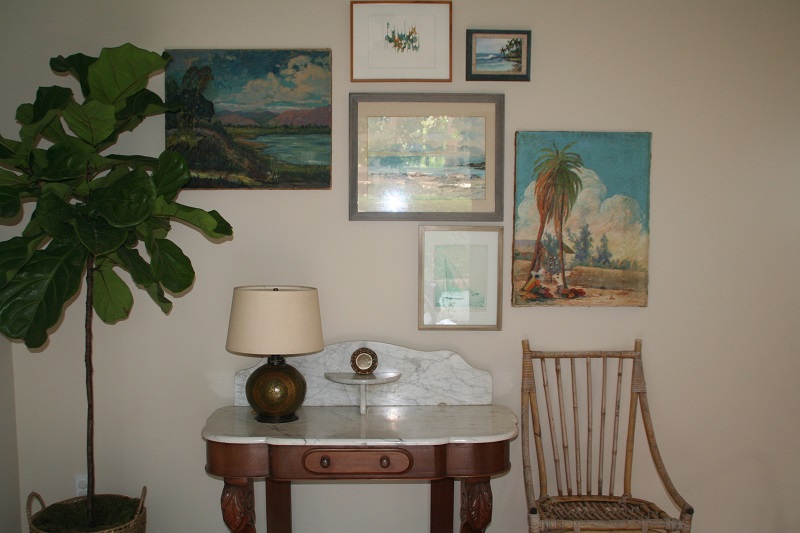
STEP #10) Remove kraft paper (it’s so satisfying) and start hanging paintings on the nails. The following photos just show one painting being added at a time.
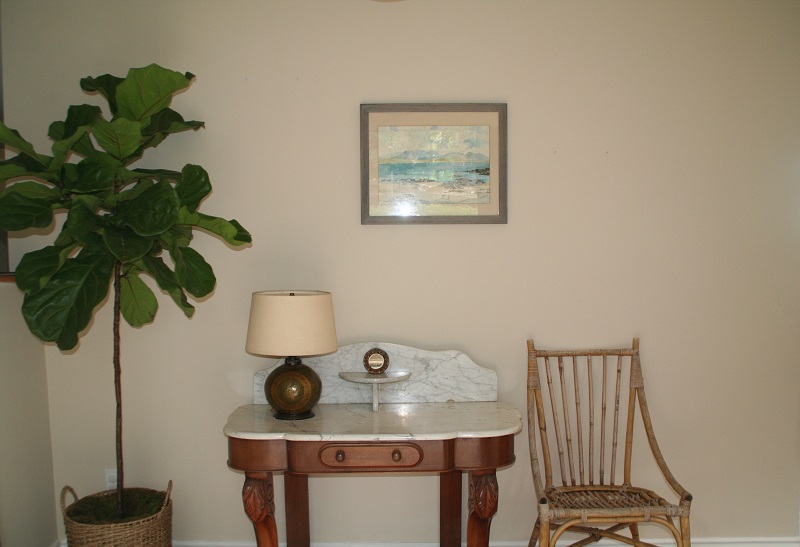
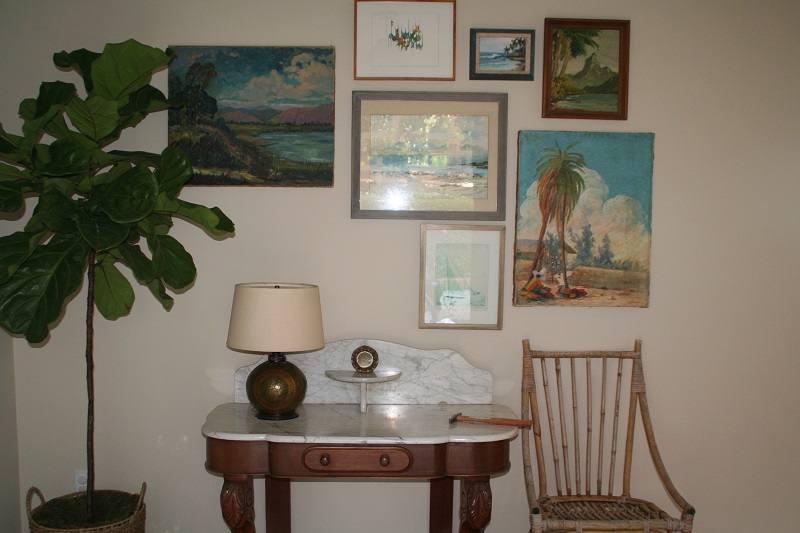
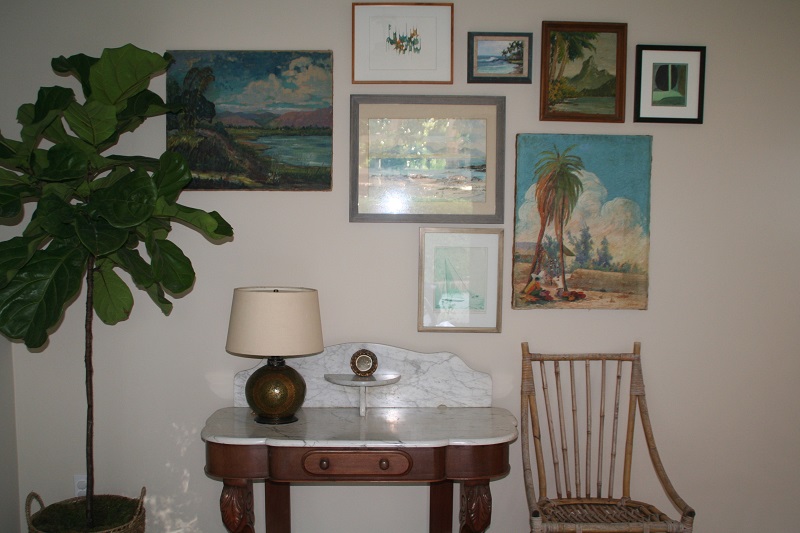
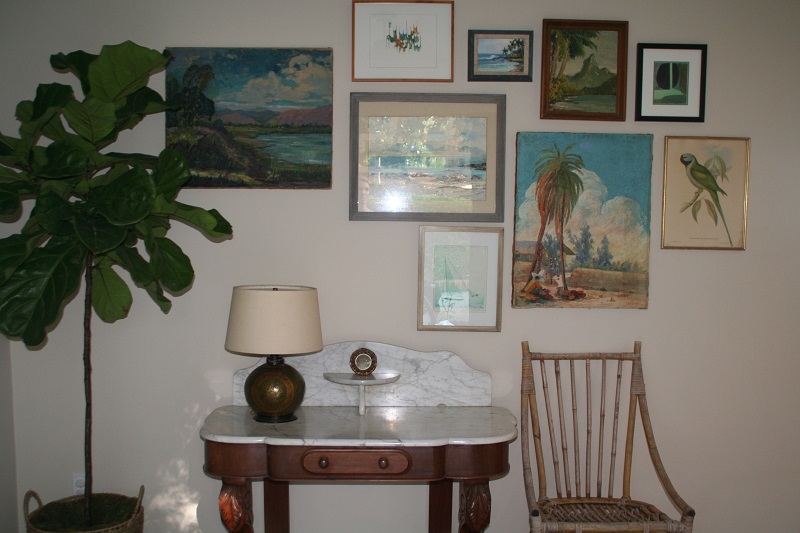
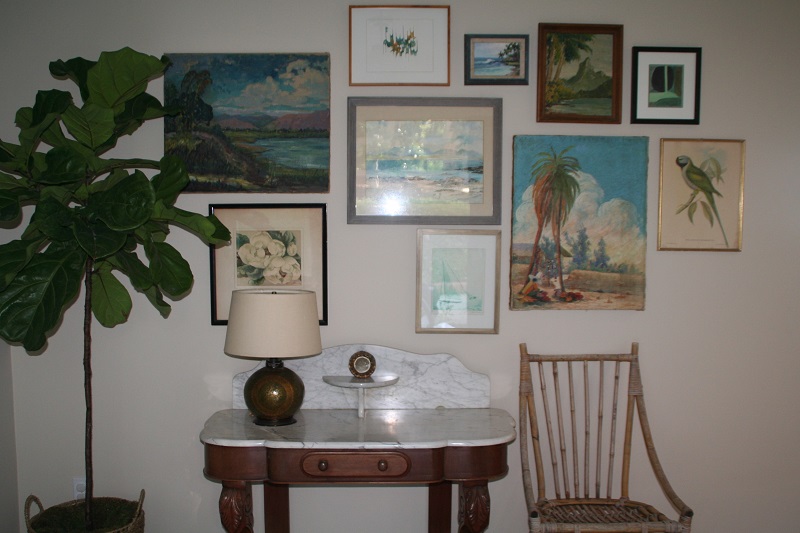
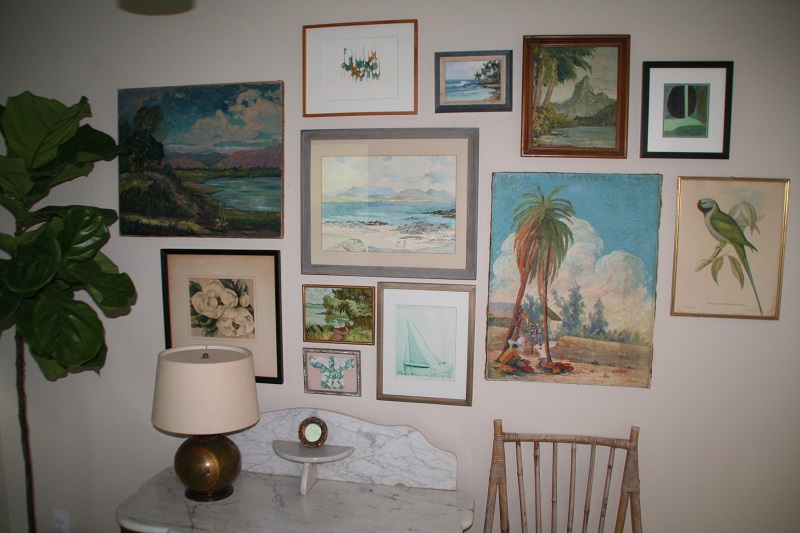
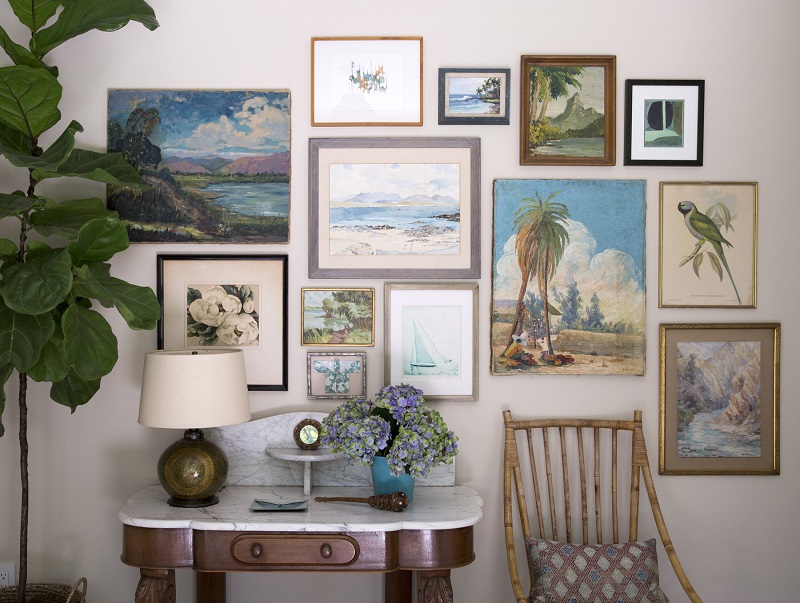
Once again, the finished product!
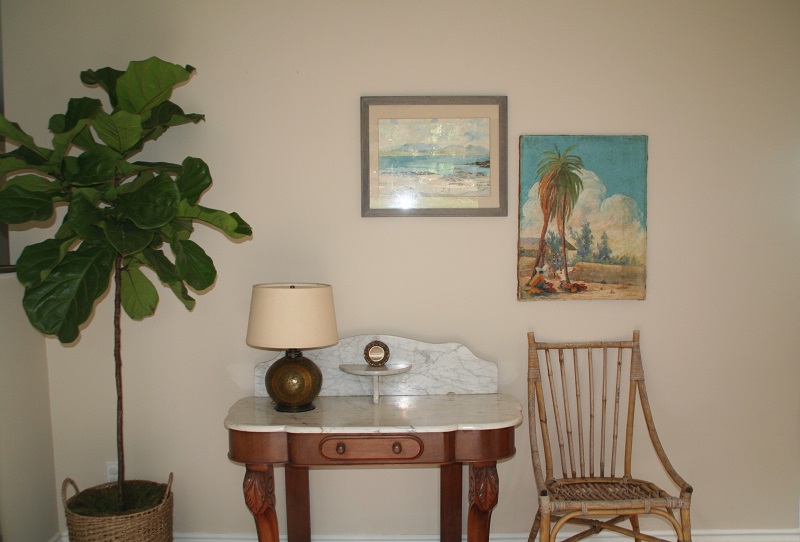
I ended up adding one more on the bottom right, which I hadn’t planned on, because I liked that it made the whole thing slightly less perfect, but also more balanced.
Regarding balance, notice that I placed similar types of things far enough away from each other that they seem spread out among the whole arrangement, and are not too bunched up together; the color saturated and unframed large oil paintings, the paintings with the whitest mats, the paintings with black frames, etc.
And another view…..
For instruction on other methods of hanging art, please view A Step-by-Step Guide to Placing Art.
NEED DESIGN HELP? I HAVE A NEW WEBSITE TO TEACH PEOPLE HOW TO DO INTERIOR DESIGN FOR THEIR OWN HOMES! Visit PLAN + ELEVATE to watch video tutorials, download exclusive resources and tools, and sign up for a personal interior design video consultation where you can get specific questions answered about your own rooms.
I’m available for hourly interior design consultations or art consultations in person in the South Bay of Los Angeles: Palos Verdes, Redondo Beach, Hermosa Beach, or Manhattan Beach.
Let’s keep in touch!
- Follow me on Instagram
- Follow me on Facebook
- Follow me on Pinterest
- Follow me on YouTube
- Visit my blog menu to see more posts
- Sign up for my newsletter
And share this post by clicking the icons below. Good luck with your design projects!
Anna
photo credits: All photos in the middle are by me, which is why you can see the glare in the glass, a hammer on the table, etc., and the first & last photos are by the talented professional, Jen Siska.
in the press

in the press
